1. One row per label
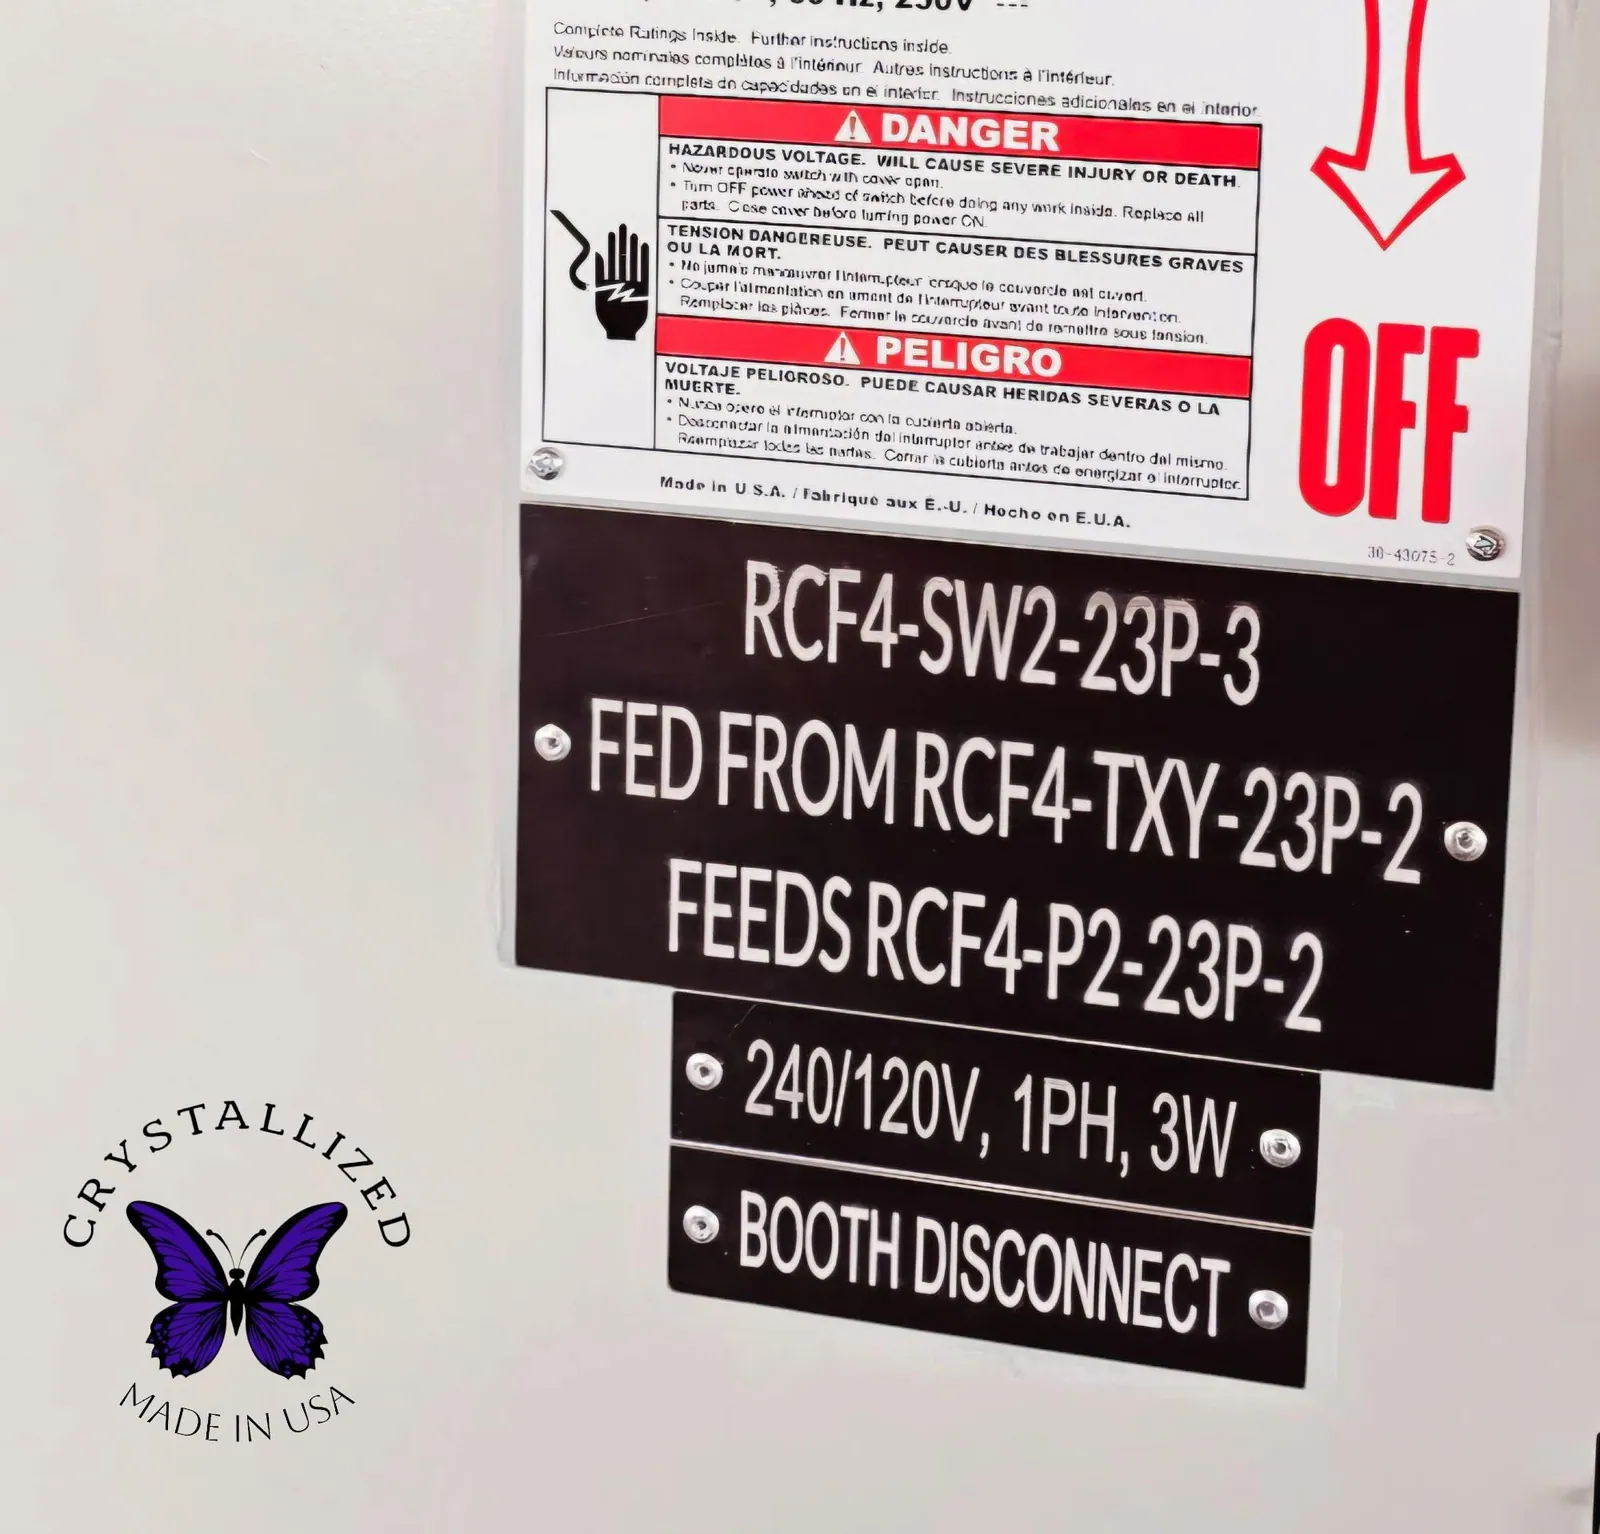
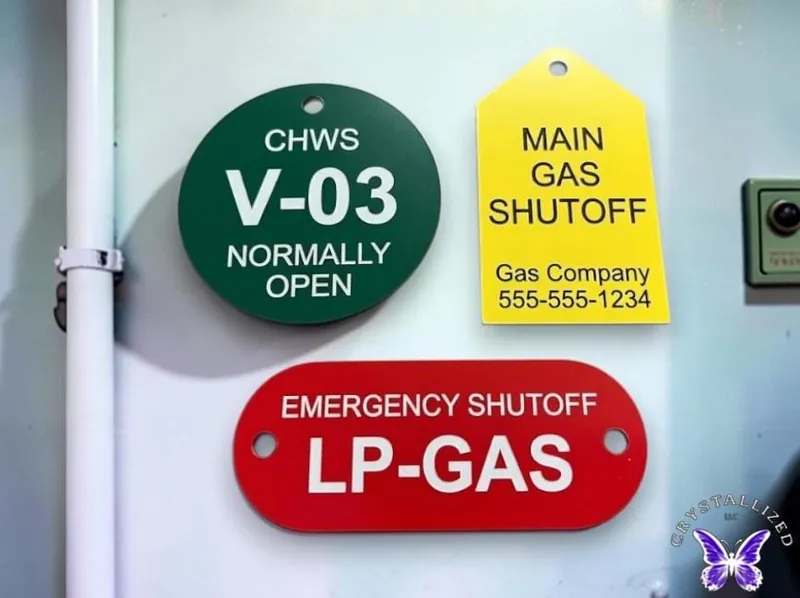
Make a row for every physical label. If you need three identical labels, either repeat the row or add a quantity column. Keep panel IDs, breaker labels and disconnect labels in the same sheet, grouped by panel or room so they are easy to install.
2. Use simple columns
- Line 1, Line 2, Line 3: the text exactly as it should be engraved, one line per column
- Size: for example 1x3 or 2x4 (leave blank to let the designer size it)
- Color: for example Black/White or Red/White
- Quantity
- Reference (not engraved): panel, room or circuit so you can sort the labels on site
3. Write text the way it should read
- Use capitals consistently (most panel labels are ALL CAPS).
- Pick one abbreviation for each word (XFMR, RECEP, LTG) and use it everywhere.
- Keep lines short; long lines need a bigger, pricier label.
- Avoid wording that depends on who uses a room. See how to label an electrical panel.
4. Proofread before you upload
Sort by the reference column and read each panel's labels against the panel schedule. Check circuit numbers, voltages and spelling. Crystal engraves exactly what is in the list.
5. Upload and check on screen
Open the Label Designer, paste or upload the sheet, and review every label preview. You can also describe labels in plain words and let the helper build the list for you to check. Save the set in a trade account to reorder later.
6. Big or unusual jobs
For logos, odd sizes or hundreds of labels with a deadline, send the sheet through the contact page first. See bulk and business orders and label prices.